
How to sand a solid wood table?
In short
Sanding a solid wood table serves to prepare the surface before finishing, remove scratches and old layers of varnish, and bring out the grain. The random orbital sander is the recommended tool, with an 80 grit to strip down the surface followed by a 120 grit to refine it. Allow 2 to 3 hours for a small table (< 120 cm), 4 to 5 hours for a standard table, and up to 6 to 7 hours for a large table or a dense wood such as oak. Hand sanding is best kept for finishing small areas. Once done, thorough cleaning is essential before applying a vitrifier.
Sanding a wood table: the right technique for a clean result, without damaging the wood
Sanding a wood table is far more than just a DIY step. It's the essential starting point for bringing a worn tabletop back to life, preparing a flawless finish, or bringing out the natural grain of a fine wood. Whether you have an oak, mango, or reclaimed wood table, the principle stays the same: patience, method, and the right tools. Wondering where to start? Which grit to choose? Should you sand by hand or with a machine?
In this article, we guide you step by step through the key stages of sanding a wood table, with all the advice of a craftsperson who does it every day.
Why sand a wood table?
The ponçage d’une table en bois est une étape incontournable pour :
- Prepare the surface before applying a finish (varnish, oil, wax…)
- Remove scratches, stains or old layers of varnish
- Even out the surface for a smooth feel and a polished look
- Bring out the wood's natural grain and enhance its material
Même une table récente peut avoir besoin d’un léger ponçage si vous souhaitez lui offrir une seconde vie ou simplement changer de style.
🪵 À noter : le ponçage permet aussi d’évaluer l’état réel du bois sous les finitions, et d’agir en conséquence si des zones abîmées apparaissent.
What equipment should you use to sand a wood table?
Before sanding a wood table, it's essential to choose the right tools. Good equipment makes all the difference: it guarantees an even result, free of marks, and prevents damage to the tabletop. Here's what you need to know.
Random orbital sander: the best ally for effective sanding
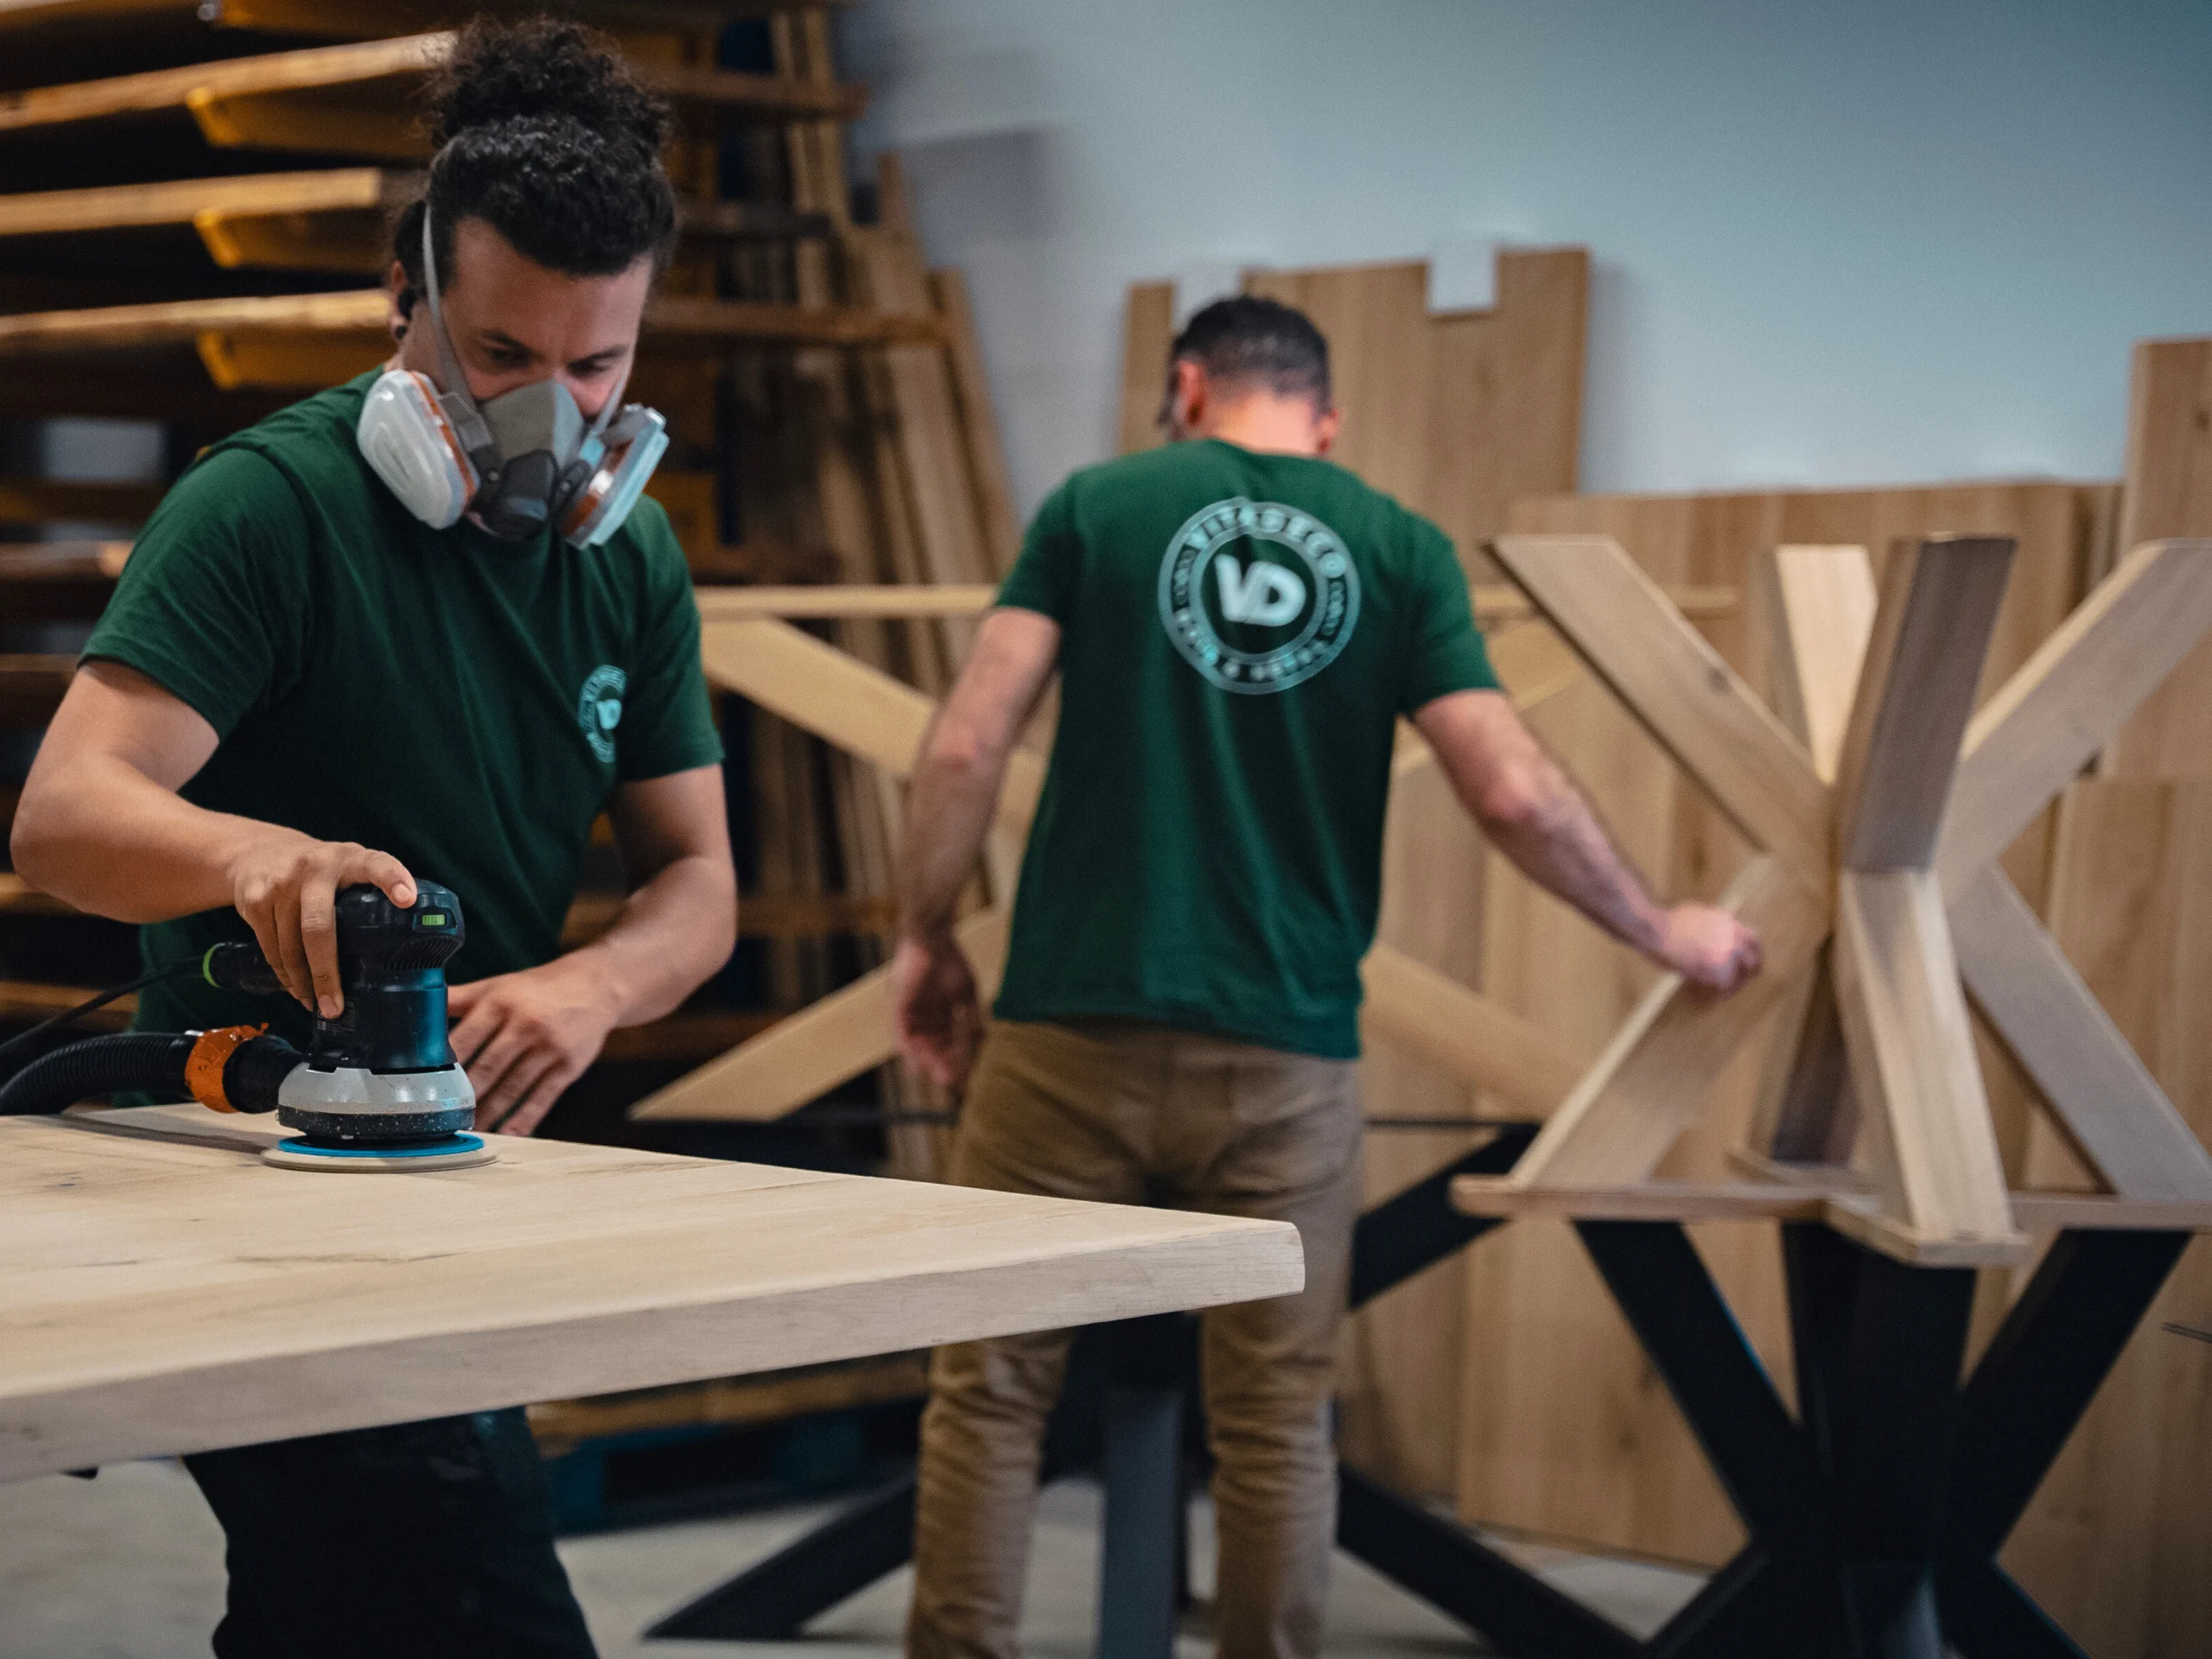
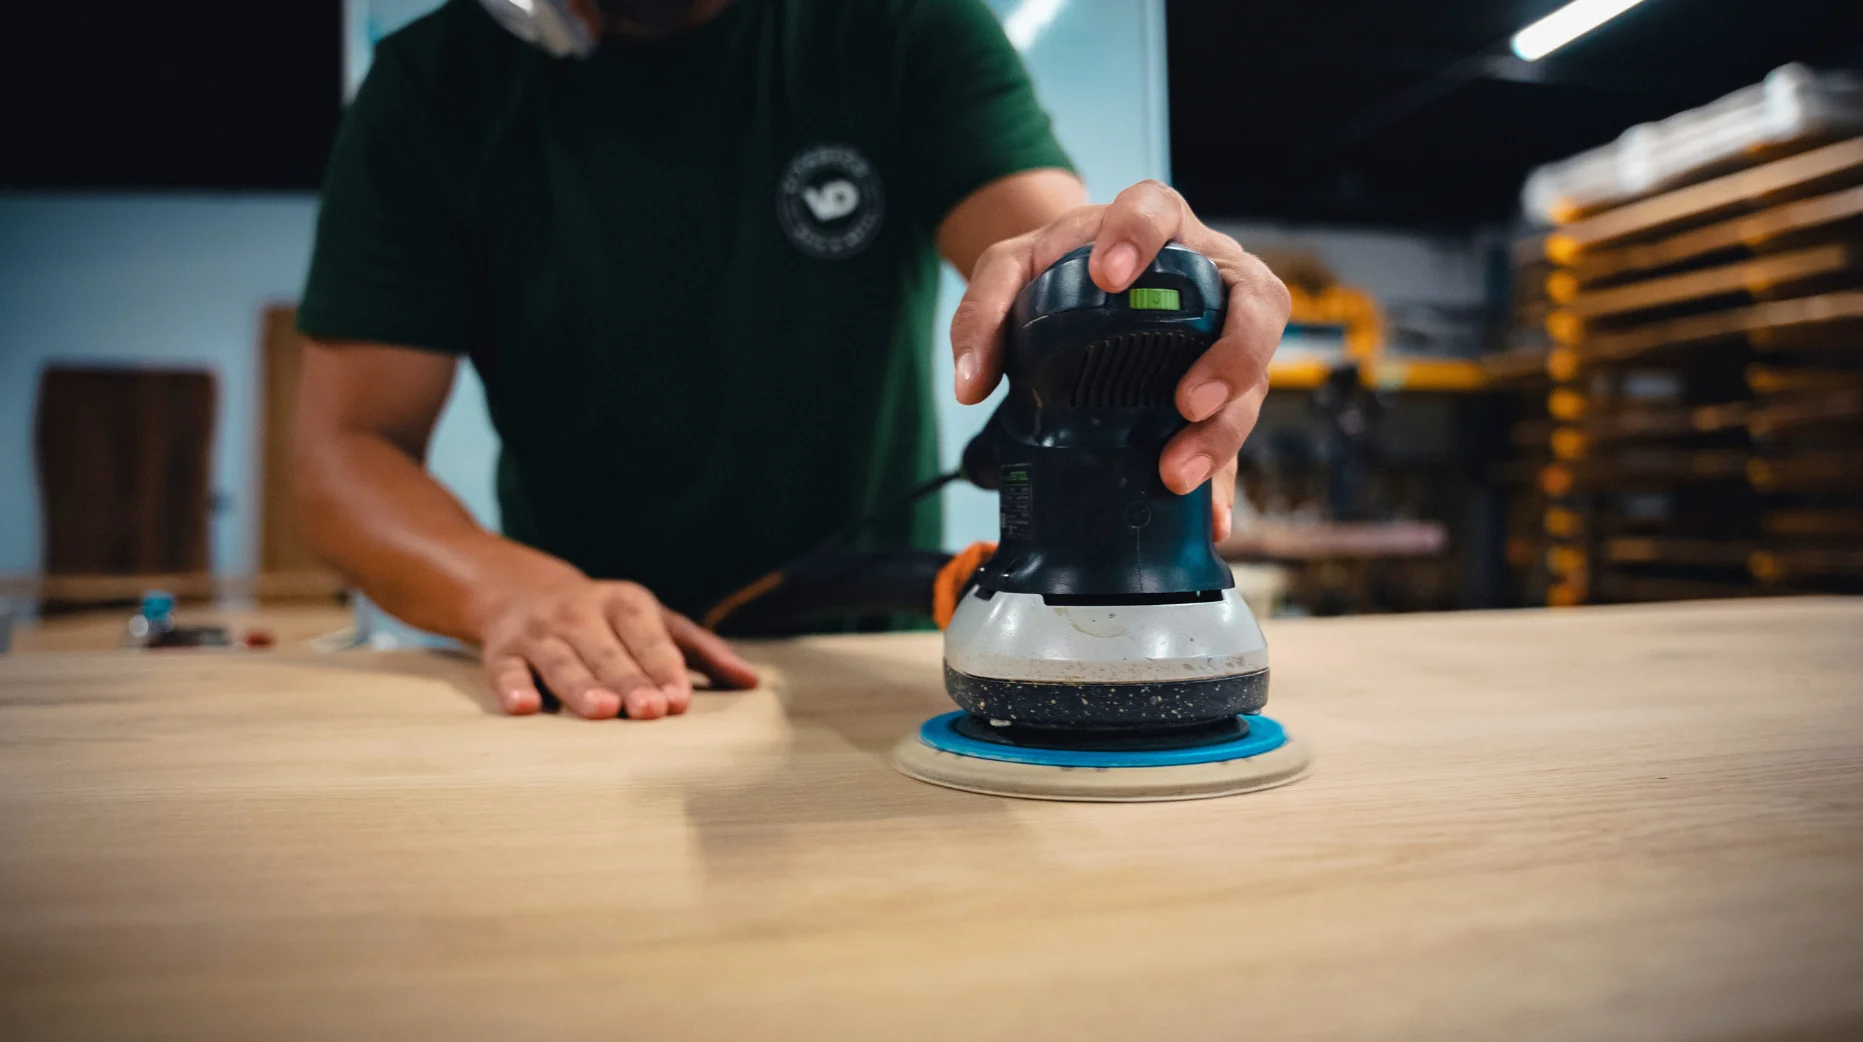
To save time and get a really smooth surface, nothing beats a random orbital sander. Unlike a standard sander, it moves in a random pattern that avoids circular marks.
It's the tool craftspeople prefer: it follows the wood grain well, limits pressure errors, and allows for fine, precise work. With a good sander, sanding a wood table becomes faster, more precise, and noticeably less tiring than sanding by hand.
Which grit should you choose depending on the table's condition?
Choosing the right grit is essential to avoid damaging the wood while still getting a good result:
- Grit 80: ideal to start with, especially if the table is varnished, stained, or has irregularities. This grit "scratches" to strip down the surface.
- Grit 120: to smooth the wood after the first pass. It refines the scratches left by the 80 grit and preps the surface to receive the finish.
🔧 À éviter : un grain trop fin peut lisser le bois à l’excès, empêchant les produits de finition de bien adhérer.
How to sand a wood table, step by step?
Sanding a wood table: what precautions should you take?
Before you even switch on the sander, a few precautions are needed:
- Protect your space: sanding a wood table generates a lot of dust. Set up in a ventilated area, ideally outdoors or in a workshop.
- Wear a mask and protective goggles, especially if the wood is varnished or old (risk of volatile compounds).
- Secure the tabletop: for even, safe sanding, your table must not move. If needed, remove the legs to work on the surface alone.
These simple steps ensure clean work and help you avoid uneven finishes or visible defects after vitrification.
Sanding a wood table by hand: a false good idea?
It's often thought that hand sanding is gentler. In reality, sanding a wood table by hand is:
- much slower: expect several days instead of a few hours;
- less precise: impossible to guarantee even pressure across the whole surface;
- tiring and inefficient, especially on hardwoods like oak or mango.
The one exception: finishing small areas, especially the edges of the tabletop. Otherwise, for a smooth, professional result, the sander remains essential.
When should you stop sanding? The right signs
Sanding means deliberately creating micro-scratches to even out the surface. But how do you know if you've sanded enough?
✔️ The right indicators:
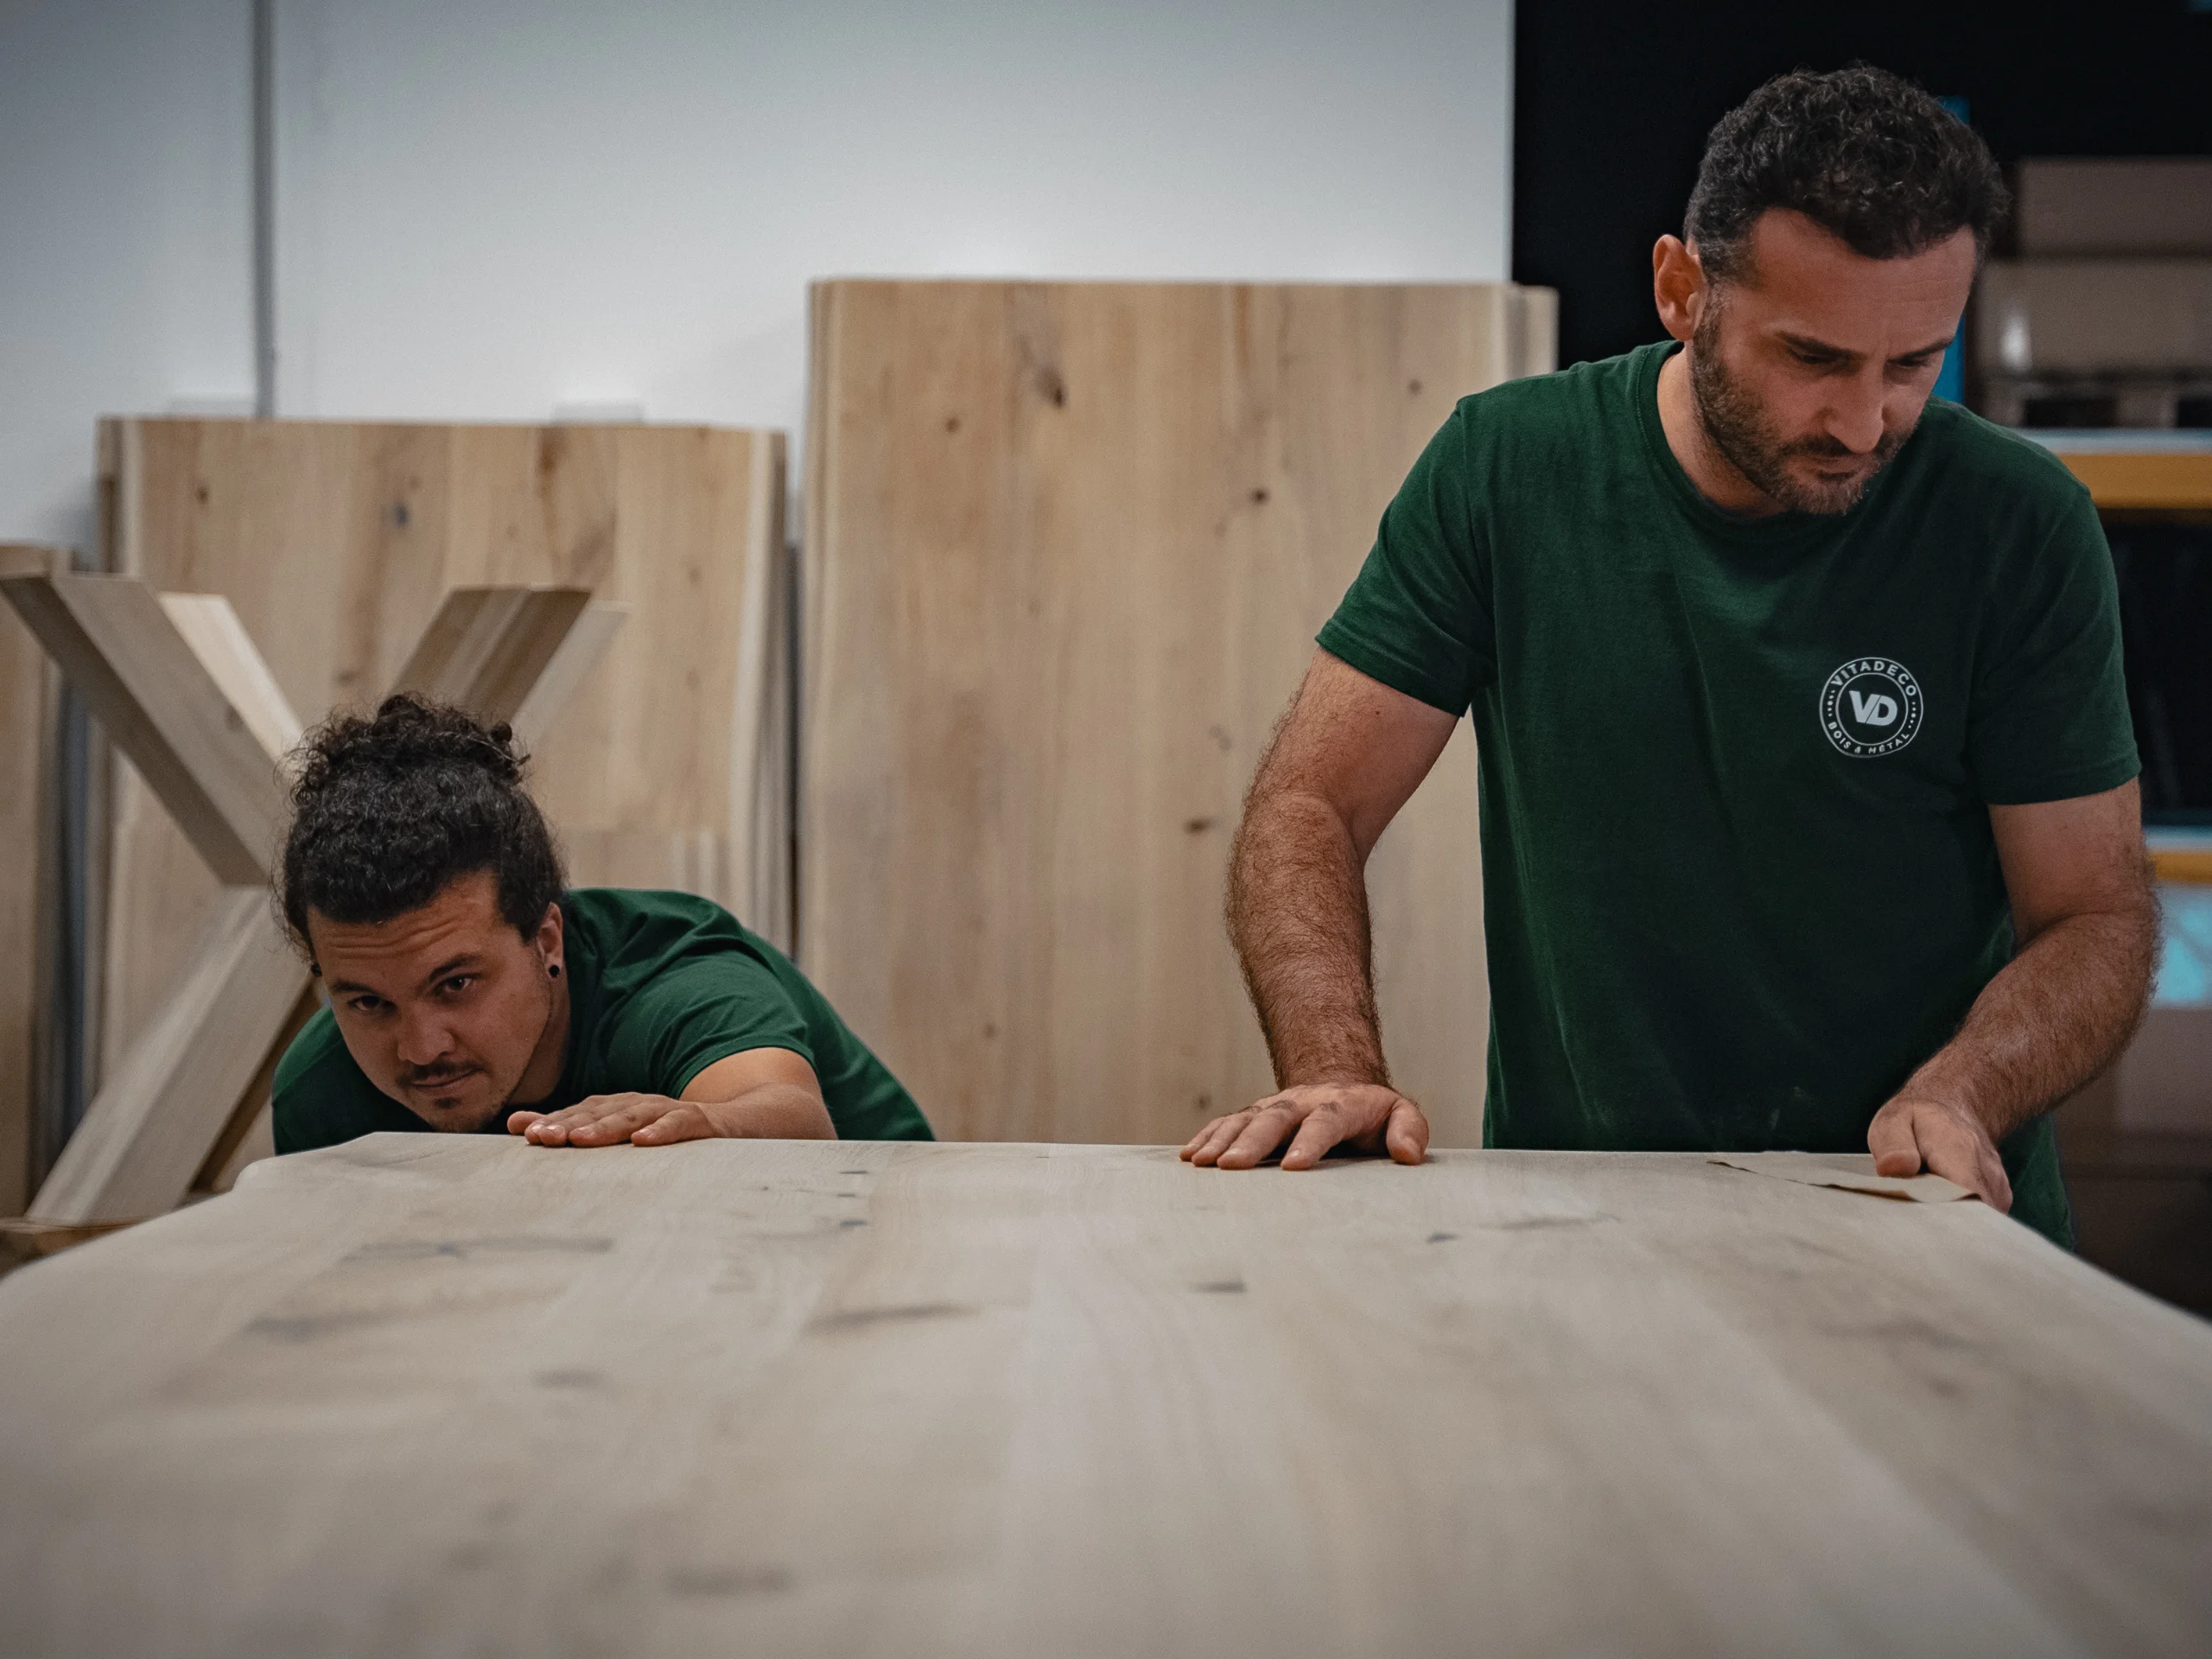
- The wood is even: no more stains, finish, or visible irregularities.
- The surface feels smooth to the touch, with no snags or rough patches.
- The grain is slightly lighter, a sign that you've removed the surface layer.
⛔ Be careful not to overdo it: excessive sanding can hollow out the wood or create differences in thickness. Once the 120 grit has been passed over the whole surface, it's time to stop.
How long does it take to sand a wood table?
A concrete estimate based on size and wood species
The time needed to sand a wood table mainly depends on three factors:
- the size of the tabletop,
- the wood species,
- and the type of finish to remove (varnish, oil, wax…).
👉 As a guide, here are some estimates using a good random orbital sander:
- Small table (< 120 cm): around 2 to 3 hours, depending on the starting condition.
- Standard table (120 to 240 cm): allow 4 to 5 hours for a flawless result.
- Large table (> 240 cm): up to 6 to 7 hours, especially if the wood is very hard.
🪵 Concernant l’essence du bois, le oak, the mango tree and the’acacia offrent une résistance similaire : dense et exigeante. En revanche, le recycled wood peut contenir des aspérités, des clous ou des irrégularités qui allongent le travail.
Finally, the thicker the original finish, the longer the sanding will take. Old varnish often requires a more aggressive grit on the first pass, which increases the overall time.
Wood density has a direct impact on sanding time: find the details for each wood species in our guide which wood to choose for a dining table.
And after sanding? Cleaning, protecting and enhancing the wood
Clean thoroughly before any finish
Une fois le ponçage de votre table en bois terminé, il est crucial d’éliminer soigneusement toutes les poussières de bois.
👉 Utilisez un chiffon sec, propre et non pelucheux, ou un nettoyant spécifique type Cleaner.
🔍 Ce nettoyage minutieux est essentiel avant d’appliquer un produit de protection, comme un vitrificateur. Il permet d’assurer une accroche parfaite et d’éviter les aspérités. Chez VitaDeco, nous utilisons le vitrificateur Océanic bois brut de Blanchon.
📖 Pour aller plus loin, découvrez notre guide complet :
➡️ Comment vitrifier une table en bois
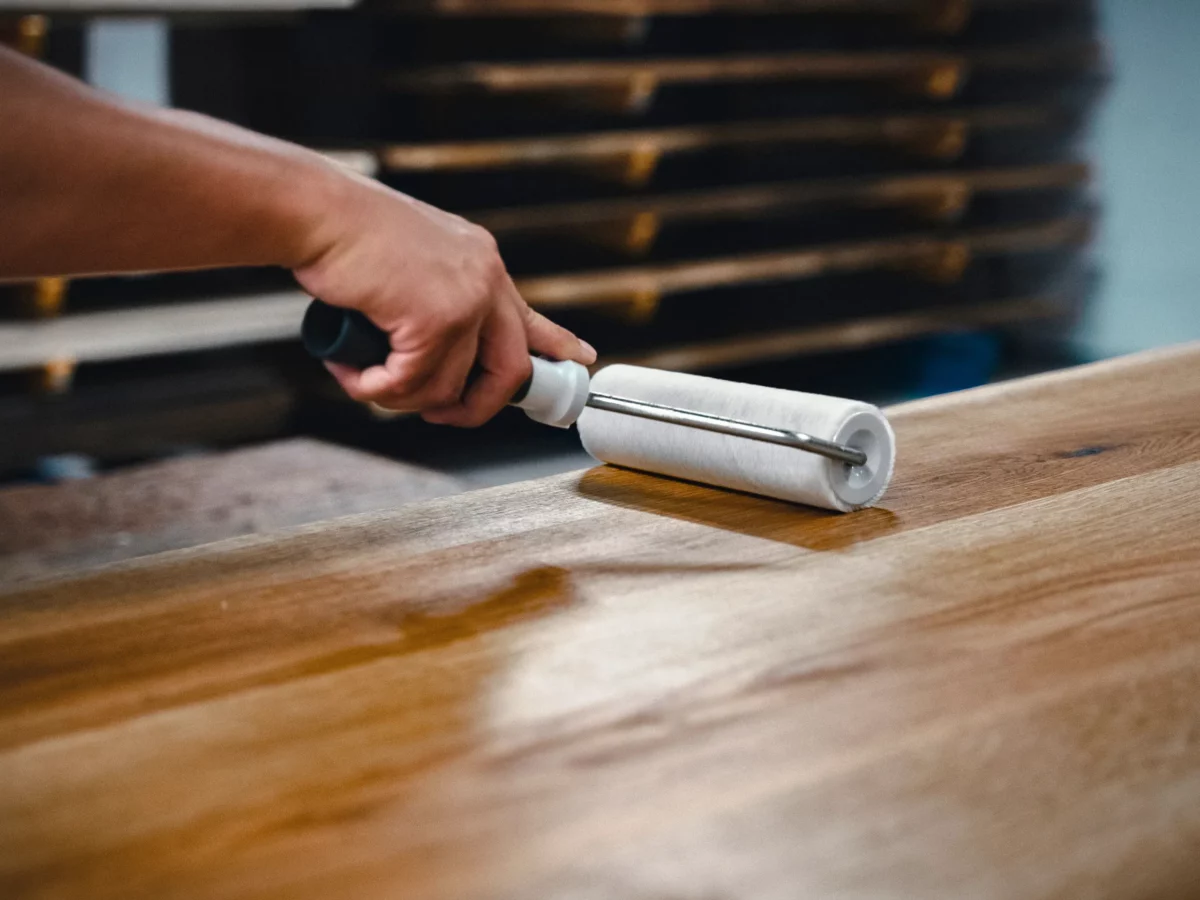
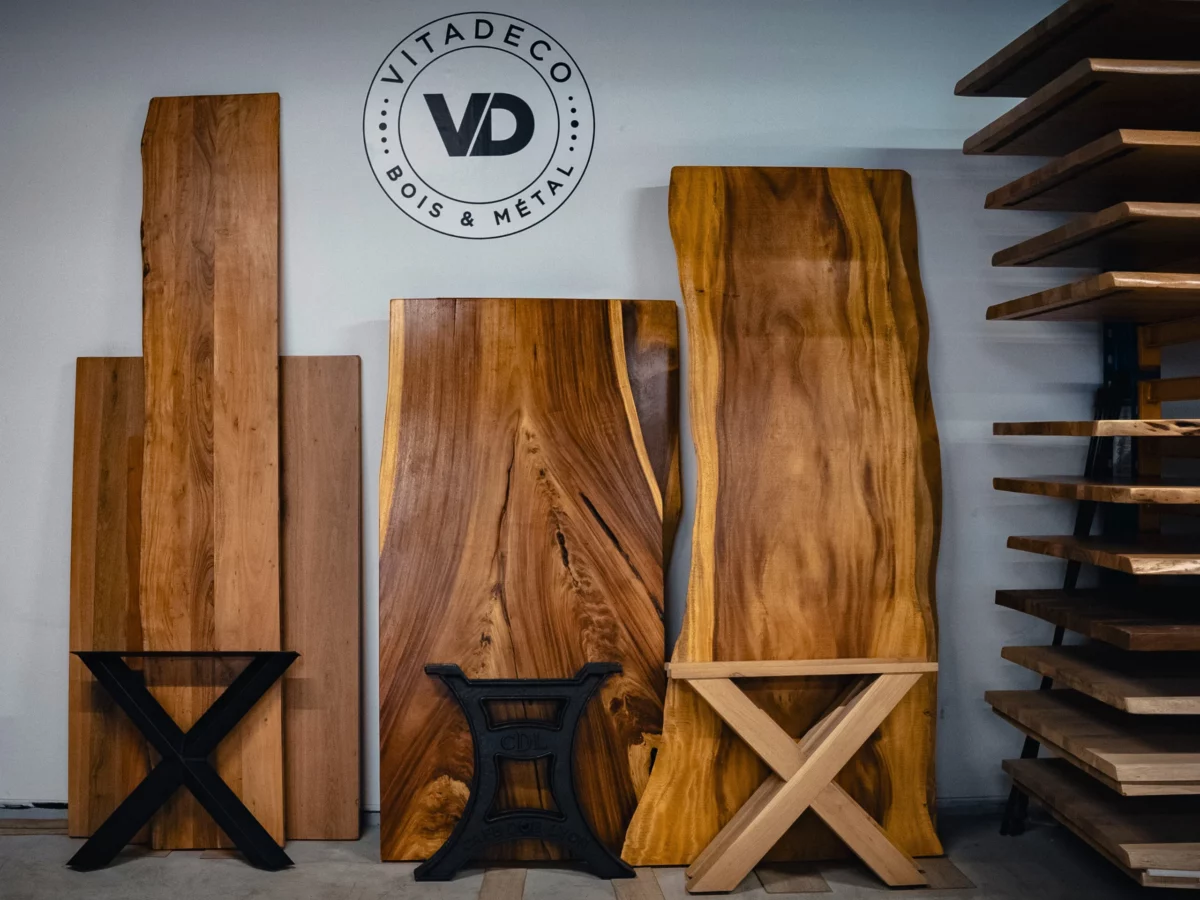
VitaDeco: raw wood tables… ready to sand or already finished
Chez VitaDeco, on connaît le ponçage d’une table en bois massif… et on sait à quel point c’est technique et exigeant.
C’est pourquoi nous proposons deux options à nos clients :
- raw tabletops, to sand and protect yourself for a fully personalised result,
- or tables already sanded and vitrified, ready to be set up in your home.
✨ Every piece is crafted with passion, in fine wood species such as oak or acacia, with careful attention to craftsmanship detail.
It's up to you to choose the level of finish you want — but either way, you'll end up with a one-of-a-kind table.
VitaDeco, for a tabletop that reflects who you are
Want your table sanded and refinished without spending your whole weekend on it? The VitaDeco team can take care of your tabletop's full renovation, or simply advise you on the equipment and grits suited to your project. Come and discover our wood species and talk about your table directly at the workshop, or contact us by phone or video call for a first chat.
Theme
Key points
Equipment
Random orbital sander recommended (random motion, no circular marks); 80 grit to strip down, 120 grit to refine
Precautions
Ventilated space (ideally outdoors), mask and protective goggles, tabletop secured or removed from its legs
Duration
Small table ( 240 cm): 6 to 7h
Wood species
Oak, mango, acacia: similar resistance, dense. Reclaimed wood: often takes longer (rough patches, nails)
After sanding
Clean with a lint-free cloth or a cleaner-type product before applying any finish (vitrifier, oil, wax)
Frequently Asked Questions
Should you sand a wood table by hand or with a machine?
A random orbital sander is far preferable: faster, more precise and less tiring. Hand sanding is best kept for small areas, especially the edges of the tabletop.
What grit of sandpaper should you use to sand a table?
How long does it take to sand a solid wood table?
Allow 2 to 3 hours for a small table (under 120 cm), 4 to 5 hours for a standard table (120 to 240 cm), and 6 to 7 hours for a large table, especially on a hardwood.
How do you know when to stop sanding a table?
What precautions should you take before sanding a wood table?
Should you clean the table after sanding, before vitrifying it?
We are making an appointment at the workshop.
58 Pasteur Street
69780 Saint Pierre de Chandieu
We advise and assist you
to choose the best size
for your future table
We advise you
on the choice of wood type
for your tray
What type of foot will accompany
your tray to complete
the table of your dreams
Once the table is created,
we are preparing it for you so that it is
absolutely perfect
We are delivering your table
at home, or you can pick it up
to the workshop directly

 D C27/08/2025
Trustindex vérifie que la source originale de l'avis est Google.
Un grand merci à Vincent et son équipe de Vitadeco ! Nous avons trouvé dans leur atelier près de Lyon la table en bois parfaite, et elle nous a été livrée rapidement en Savoie. Enfin une belle table qui correspond exactement à ce que nous cherchions : élégante, solide et pleine de charme. Bravo pour la qualité du travail et le service irréprochable 👌✨Publié sur Google
 Gaelle M.19/08/2025Nous sommes ravis de notre achat et de la livraison de notre table sur mesure ! Tout a pu se faire à distance - nous aurions adoré voir l'atelier en personne mais habitant à Paris ce n'était pas simple... Vincent et son équipe sont des passionnés et cela se ressent ! Merci encore.Publié sur Google
 sami charef24/07/2025Très satisfait concernant l'achat de ma table. Livraison efficace sur paris. Je recommande.Publié sur Google
 Arnaud16/06/2025Très bons conseils et énormément de choix. Toutes les tables sont magnifiques. Merci encore!!Publié sur Google
 Valerie bournel BoSson03/05/20255 années de recherche pour trouver une belle table, un bel objet comme on dit et à un prix raisonnable, merci Vincent Esposito, un pro.Publié sur Google
 Ghislaine Réveil02/04/2025Nous sommes enchantés de notre table (diamètre 110 cm). Établissement très sérieux de la confection à la livraison, à recommander sans hésitation.Publié sur Google
 Break Viss02/04/2025We came all the way from Paris and found our dream table with the help of Vincent. He was incredibly patient during our visit, pulled out table after table for us to explore, until we found the right one with the right legs. In the end we chose a beautiful table made of wood over 100 years old; it's a piece that oozes history and that has texture and character that you will not find if you buy "off the rack" in some overpriced designer store. The price was extremely competitive compared to what you find in stores in Paris, if you were to be able to find something like this in the first place. I highly recommend VitaDeco to anyone considering buying a custom table in France!Publié sur Google
 Tis 5528/03/2025Je suis très contente de l'achat de ma table chez vitadeco qui correspond tout à fait à mes attentes. Compter environ un peu plus de 1mois pour la fabrication d une table sur mesure et de qualité. Un très bon contact avec Vincent qui est toujours de bon conseil pour les clients.J'étais un peu plus septique pour la livraison à mon domicile en Marne mais cela s'est très bien passé par cocolis. Je recommande vivement cette entreprise.Publié sur Google
 Clément I13/12/2024Nous sommes enthousiasmé par la table que nous a fabriqué Vitadeco. Nous avons pu échanger, discuter et finaliser les choix de composition de notre table. Vitadeco se distingue particulièrement par sa disponibilité et son professionalisme. Nous recommandons vivement cette entreprise pour vos projet.Publié sur Google
 Marion BRAIRE07/12/2024Nous possédons une table ( en bois avec pieds en métal) achetée chez Vita Déco il y a plusieurs années, et elle est restée à l’identique! Très bon rapport qualité-prix et fabricant très sympa. On recommande!!!Publié sur Google